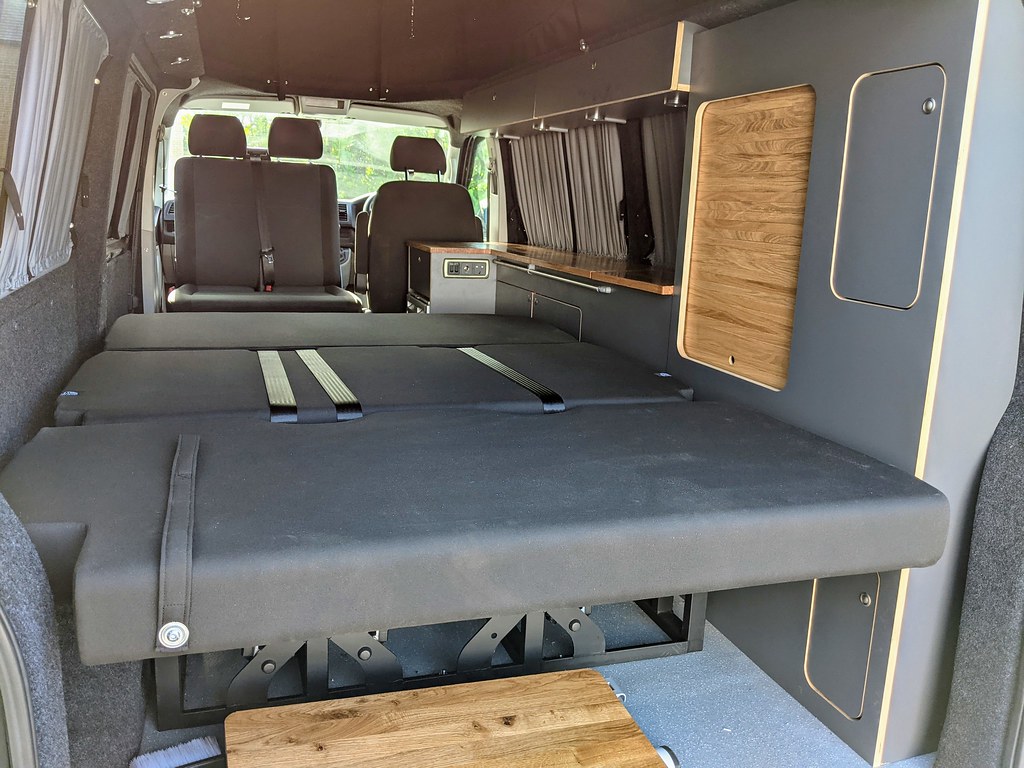
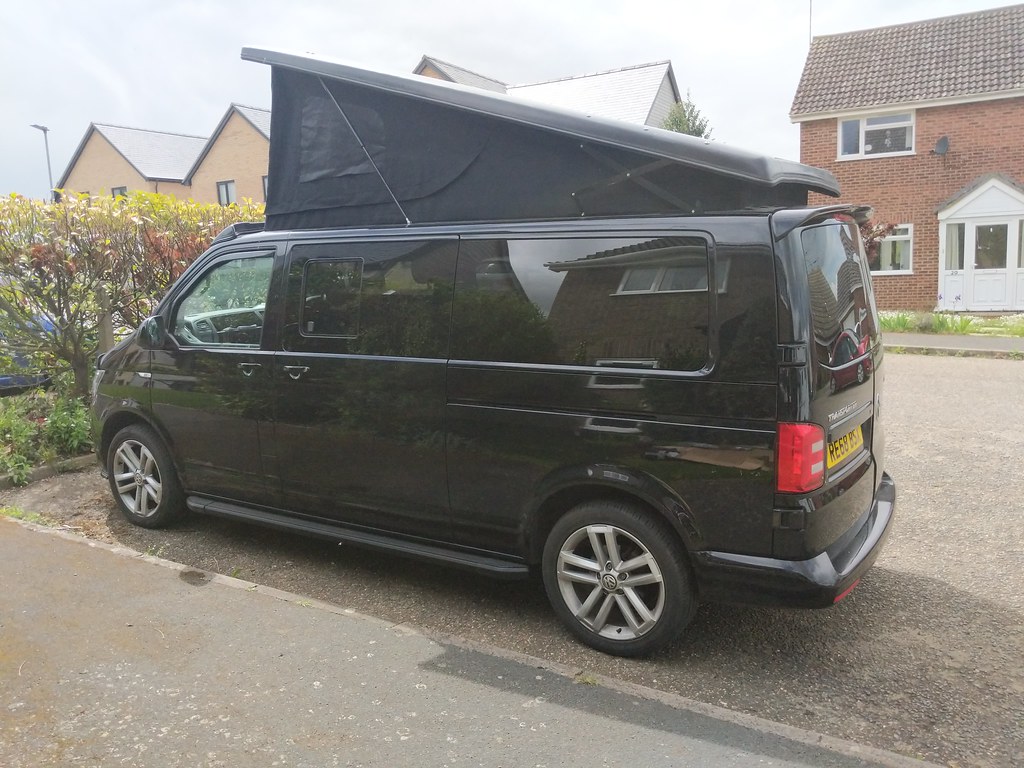
You can now hire this van and his big brother “Van Blanc”:
https://www.goboony.co.uk/campers/united-kingdom/england/great-whelnetham/63333
https://www.goboony.co.uk/campers/united-kingdom/england/great-whelnetham/63570
My son Pete told me he’d bought a VW van to convert into a camper. One day it turned up outside my house. And what a beast – long wheelbase, automatic, four wheel drive, and black. He’d bought it as a panel van but by the time he delivered it to me he’d already had some of the specialised work done. It was fitted with a rising roof and top bed, and windows. The inside had a floor, insulation, lining and LED lights (fitted but not connected). Not much to do then.

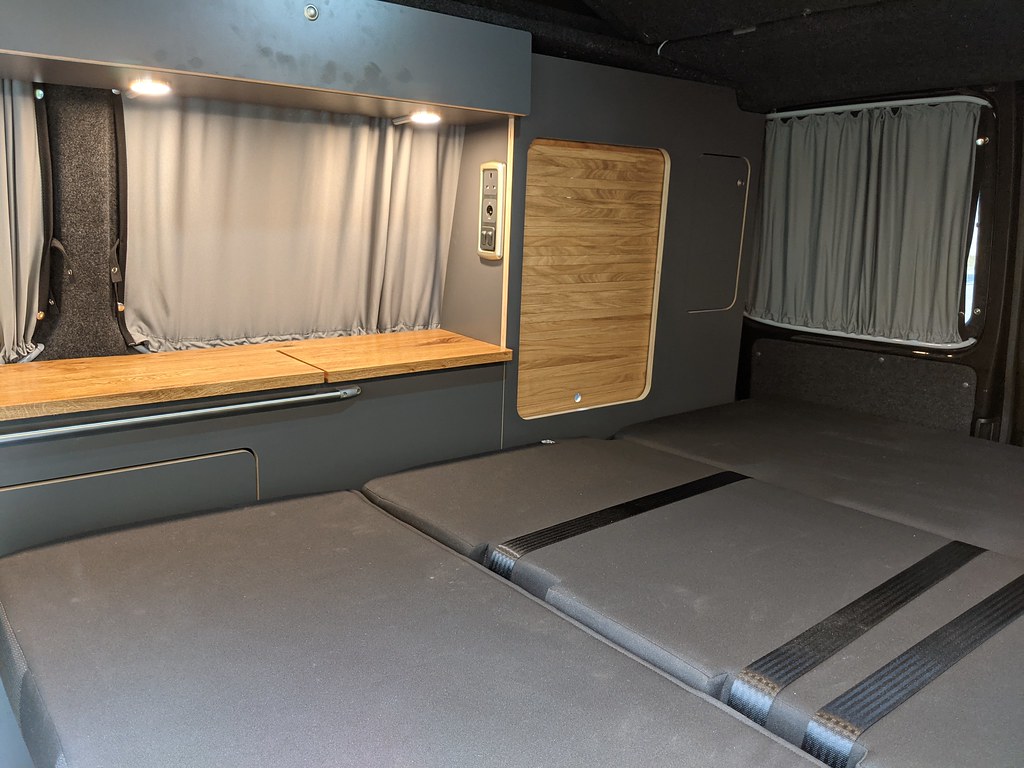
Inside were some large boxes. Further investigation revealed a very large solar panel, an MPPT controller for that panel, a seat swivel for the double front passenger seat, and a kit with curtains and runners for those curtains. Pete had been looking at his options for the conversion, and had decided that he wanted a RIB 130cm bed/rear seat – this crash-tested design gives 3 fully belted passenger seats, two of them with Isofix points for child seats. Equipped this way, the van has a total of six travelling seats – ideal for a large and growing family. These were the major design decisions.
When converting a campervan we can custom build the furniture from raw materials, but since this was a VW Transporter, and the decisions already made constrained the layout to be a conventional “furniture along the offside” arrangement, it made sense to purchase a furniture kit. This saves a lot of time, offers a good fit and a professional finish. But before committing to ordering the furniture we needed to procure the bed – there was a shortage of parts for campervan conversion due to high demand and supply-chain problems.
After a lot of searching on the web I tracked down the required RIB 130, with upholstery to match the van’s front seats. The one I found was the up-market sliding version – even more expensive and with a little less storage underneath – but offering some flexibility in use. It came more quickly than promised. Very big and very heavy it joined the rest of the equipment inside the van itself.
Seat swivel
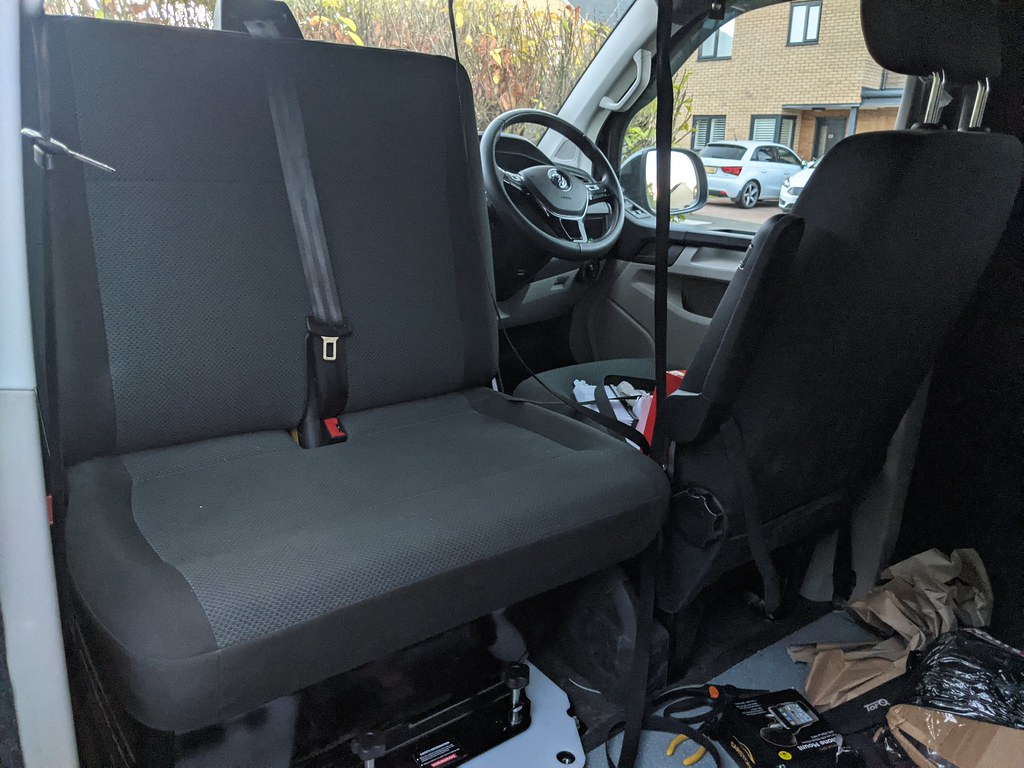
I decided to get into conversion mode with something straightforward, so I looked at the seat swivel. That came with good instructions and the job appeared to be simple enough – a couple of bolts had to be shortened, but apart from that it was a case of unbolt the seat, bolt in the swivel and bolt the seat back on top. Everything was very heavy, and some pieces required a bit of persuasion to fit, but it all worked OK. So far so good.
Solar panel
The challenges for the solar panel are:
- mounting it on the roof
- routing the cables from outside to inside
- locating and connecting the MPPT controller
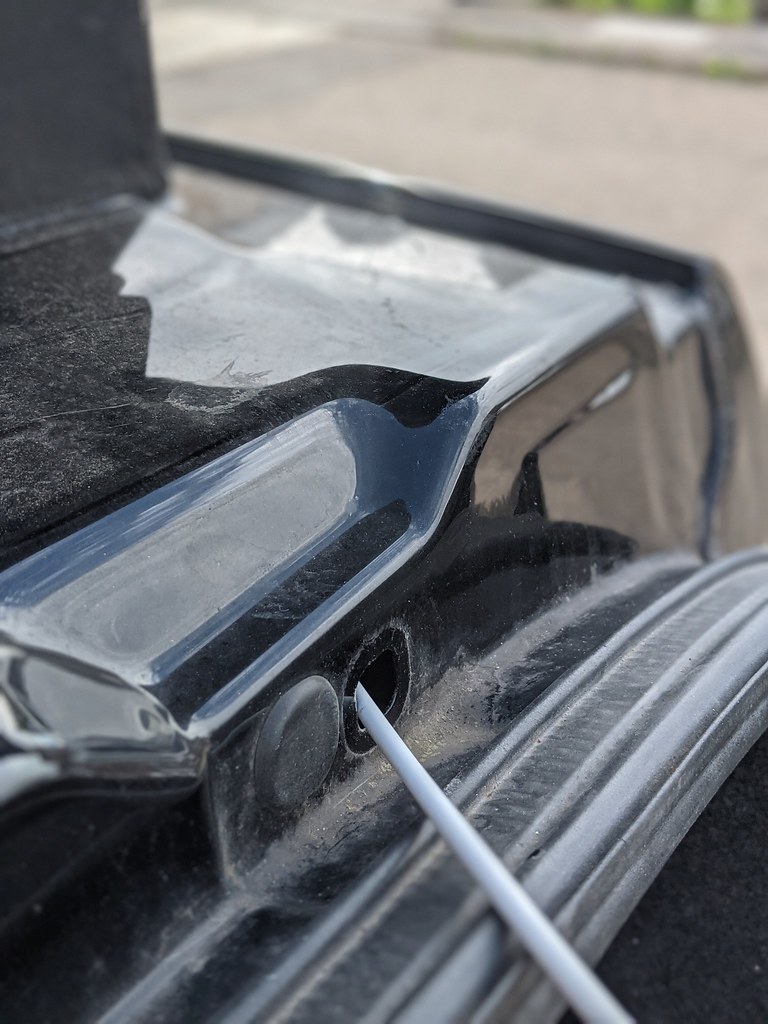
Some Google homework suggested that the panel could be attached to the roof using Sikaflex adhesive – the material was ordered. Pete had already asked that the mounting brackets be painted yellow, so they needed to be prepared. There was a rubber grommet at the rear of the roof, just in front of the rear doors – I removed this and explored where it led with the help of a spare bicycle cable. After removing an internal panel, slitting the van lining, and much persistent jiggling of the cable I managed to find a route from the roof to the inside. I pulled some string through, ready to pull the power cables.
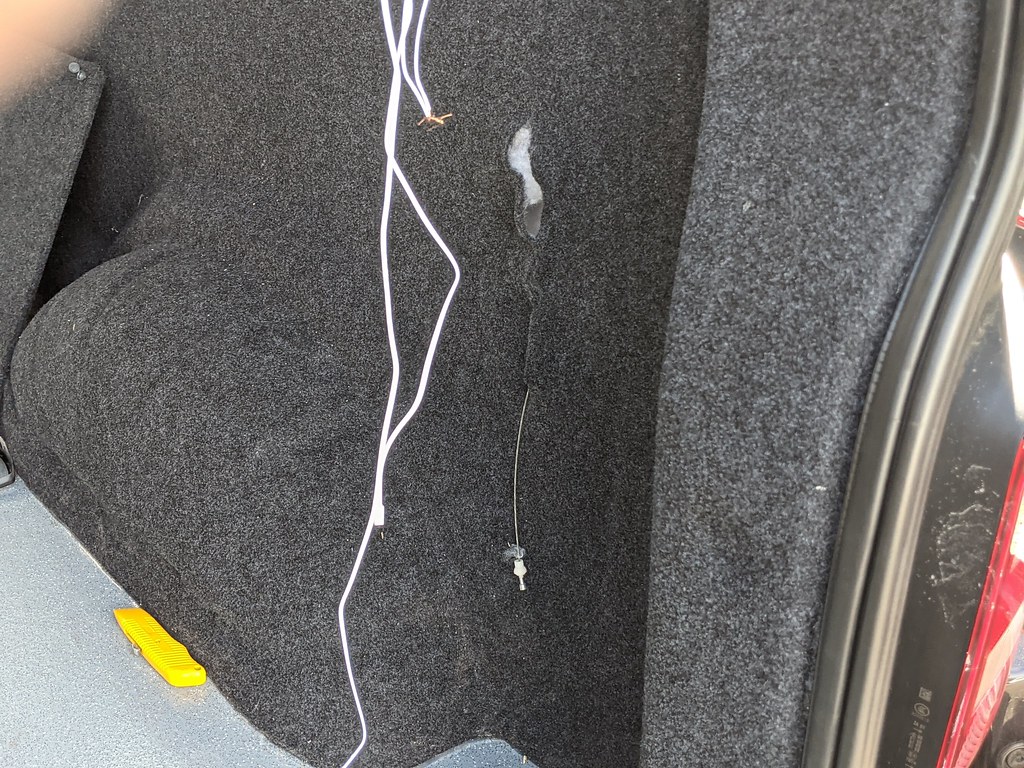
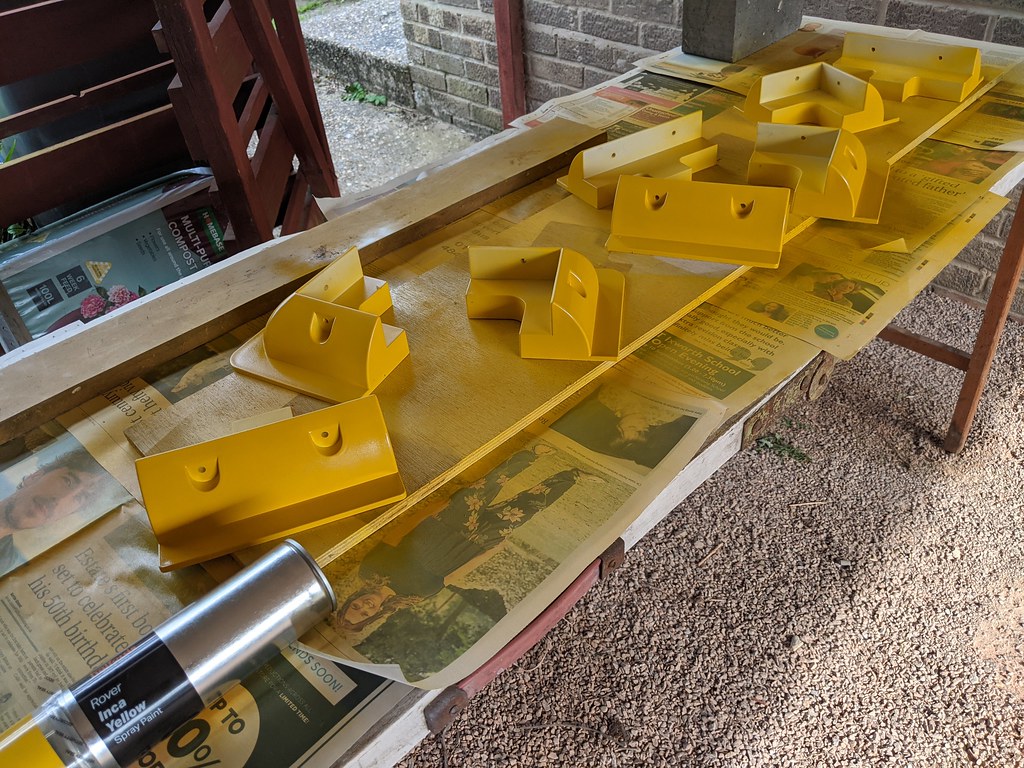
The brackets were rubbed down and painted with suitable primer and then the required yellow paint. We were getting to the point I wasn’t looking forward to – sticking a large rigid solar panel (2m x 1m) to a plastic elevating roof. I read the Sikaflex documentation, watched all the YouTubes and tried to convince myself to believe. But the brackets didn’t have a very large flat mating surface for the adhesive. It all looked rather frightening, and the idea of a large solar panel getting loose at high speed was not a pretty thought. I was also tortured by thoughts of how to get the panel in the right place on the roof with adhesive attached. I borrowed Pete for an extra pair of hands, and we applied the adhesive to the bottom of the brackets and then between us lifted the panel on to the roof. Job done, I hoped.
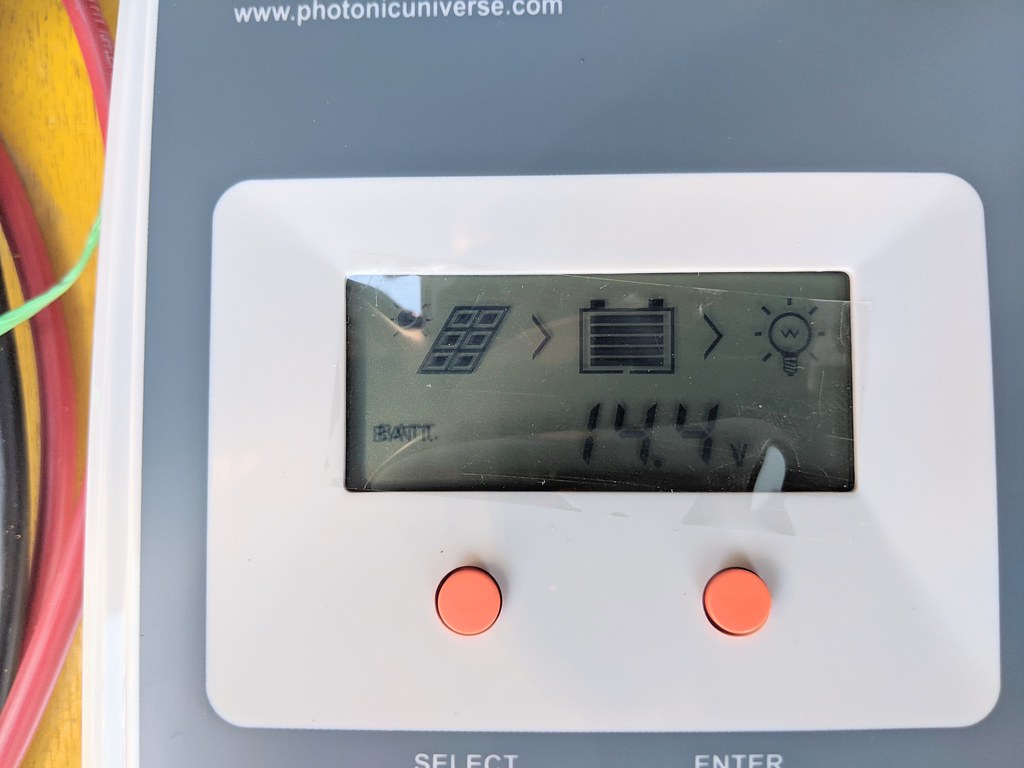
Now I could connect the panel to the MPPT controller and an old leisure battery and make sure it was working – and there it was, volts extracted from the sun.
And all was fine until I drove the van to pick up the furniture. When I got back I noticed that the front brackets for the panel were no longer stuck down. I think this was a combination of my poor workmanship, the flexibility of the rising roof and the fact that the brackets don’t have a good flat mating surface for sticking them down. I didn’t hesitate before doing what I’d really wanted to do all along, and put bolts right through the roof to hold the panel down. Phew!
Ordering the furniture
While all this was going on we were discussing the sourcing of the furniture. Pete had already decided that the best solution was to buy a self-assembly kit. What we hadn’t reckoned on was the supply-chain and demand disruption for van parts, including furniture. Everyone was building a van, and there were shortages of plywood. In the end we opted for a local company (and it turned out one of the people in the company had been to school with Pete). They had a lead time of 8 weeks for furniture – so we did a factory visit (one of the advantages of a local company) and got the furniture on order. This also enabled us to get the fridge and hob – the choice of these is dictated by the furniture. Pete had opted for a simple design for his van with no water system at all, otherwise the sink would have been included in this shopping list. Again, these items were in short supply, but with sufficient work they could be found.
The 8-week delay presented a bit of a hiatus in the build programme. It would not have been wise to commit to bolting in the rear seat without knowing exactly where the furniture was going to be. But we could work on the choices and procurement for the electrical system.
Electrical system
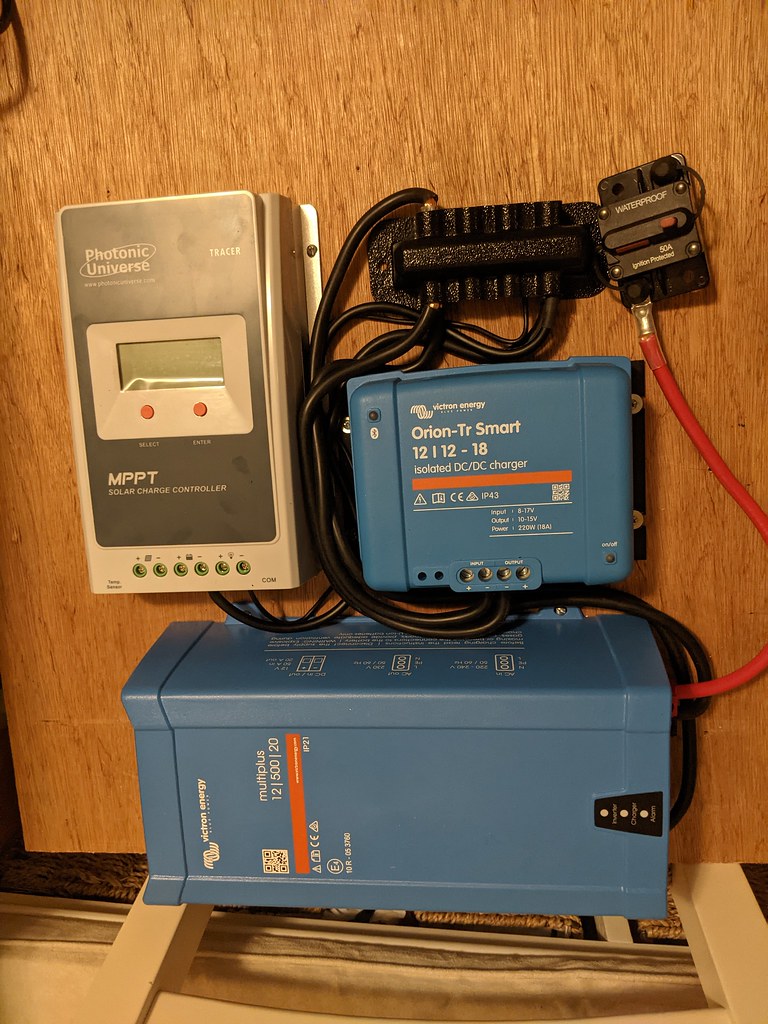
The electrical system is based around a 12 volt leisure battery charged by various means, with a mains voltage system working alongside. The solar panel and its controller were already in place. I’ve fantasised for a long time about the totally gas-free off-grid camper, but for this simple conversion the huge costs of a large lithium leisure battery bank and high-power inverter for electric cooking were difficult to justify – as well as the space required to house these things in a relatively small van. If you keep reading you will find the twist in the tale of gas-free thinking.
So the design came down to a small lead-acid battery that would fit safely under the driver’s seat, with the solar panel MPPT controller, a battery-to-battery charger for charging while the engine is running, and a charger/inverter that would charge the battery while on mains hook-up (or shore power as the Americans would say). The charger/inverter incorporates a changeover switch so that the 230v outlets function both for hook-up and inverter power.
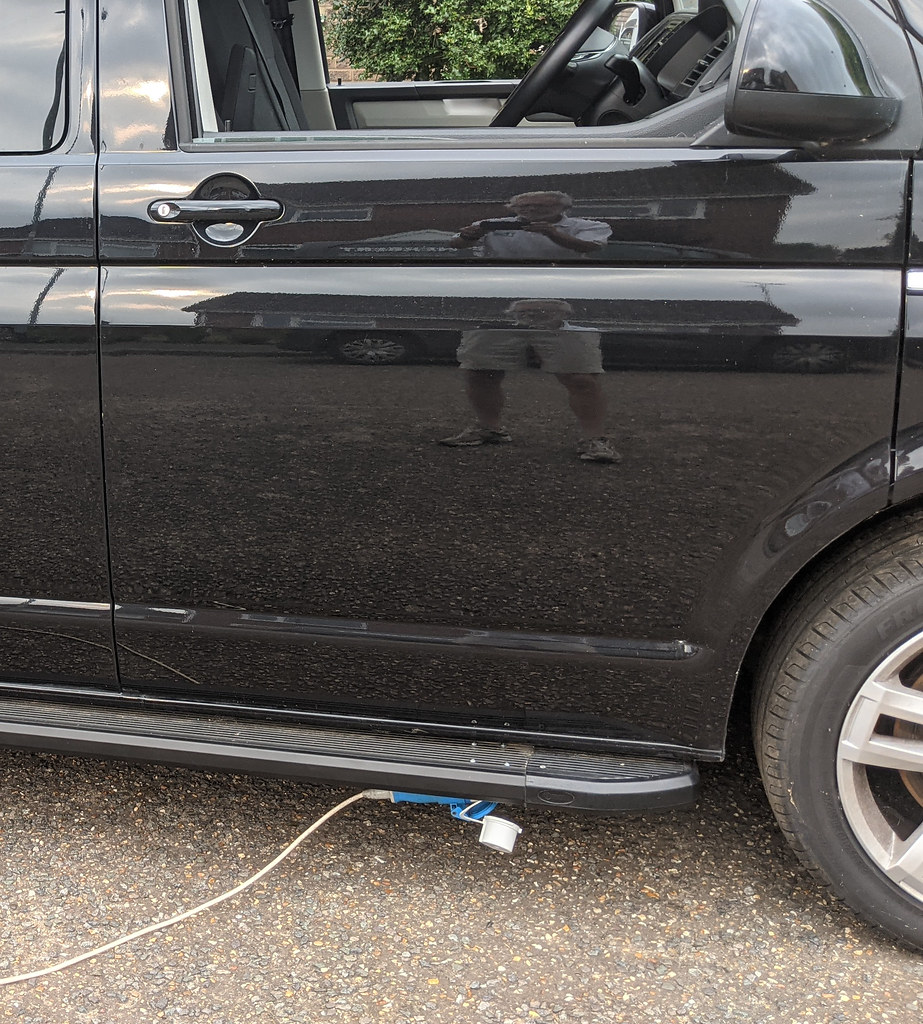
I thought long and hard about the location of the inlet for the mains hook-up. Traditionally it involves cutting a hole in the bodywork of the van – the end result is convenient to use and can look neat – but I was trying to have the least possible impact on the base vehicle. There are YouTube videos of some very ingenious locations under the rear bumper, or less clever ideas like under the bonnet. In the end I chose to put the inlet under the step – it’s a bit low to get to, and might get well sprayed by rainwater, but I could use existing holes in the body for the cable, and it all looks pretty neat.
I prototyped and tested the whole electrical system, mounted on a sheet of plywood. In the end, after the furniture had been put in place I could, with a few modifications, use the prototype as a part of the final build, locating the bulk of the components behind the driver’s seat, conveniently close to the battery. I had at one time been planning to put all this stuff under the rear seat, but that would have been a much messier solution and stolen a lot of storage space.
Curtains
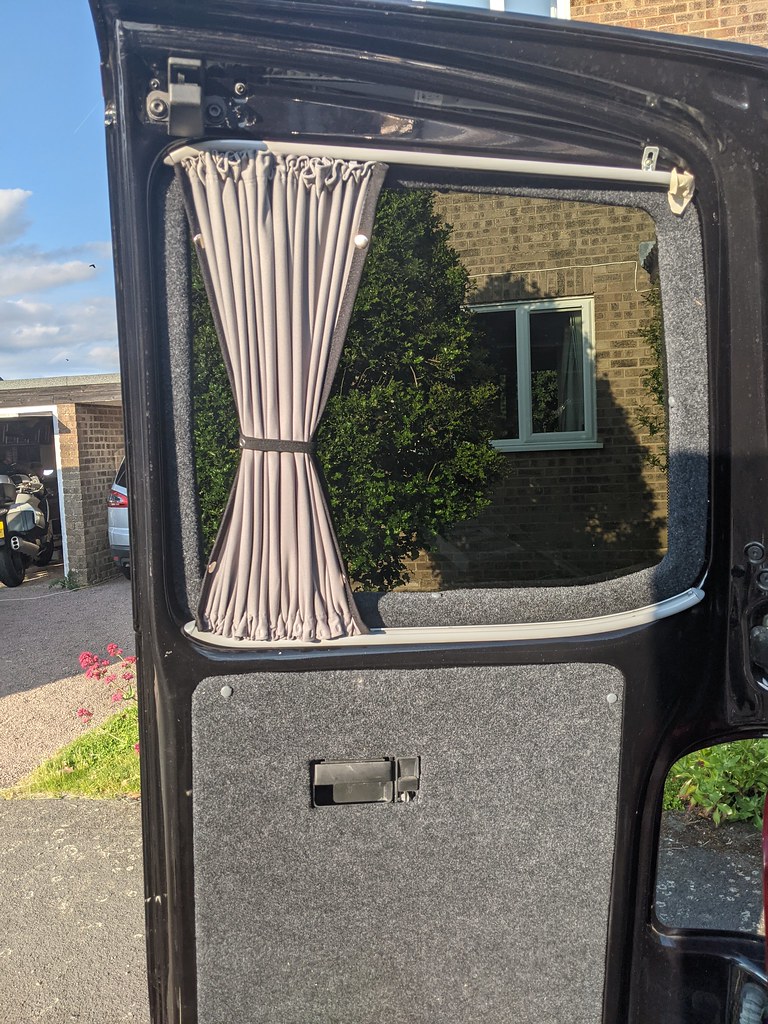
Pete had already purchased a curtain kit deigned especially for the vehicle. It was well made and mostly fitted well – I had to modify the runners for the back doors. The process of attaching the runners was more traumatic than I had expected. Drilling the small holes for the self-tapping screws in a vehicle that already had the lining fitted proved challenging – it was difficult to mark screw locations on the lining, or indeed even to see the holes once they had been drilled, and the lining would bind around the drill bit and break it with monotonous regularity. I have been very pleased to find out since this experience that I am not the only person to have suffered these difficulties.
Furniture build

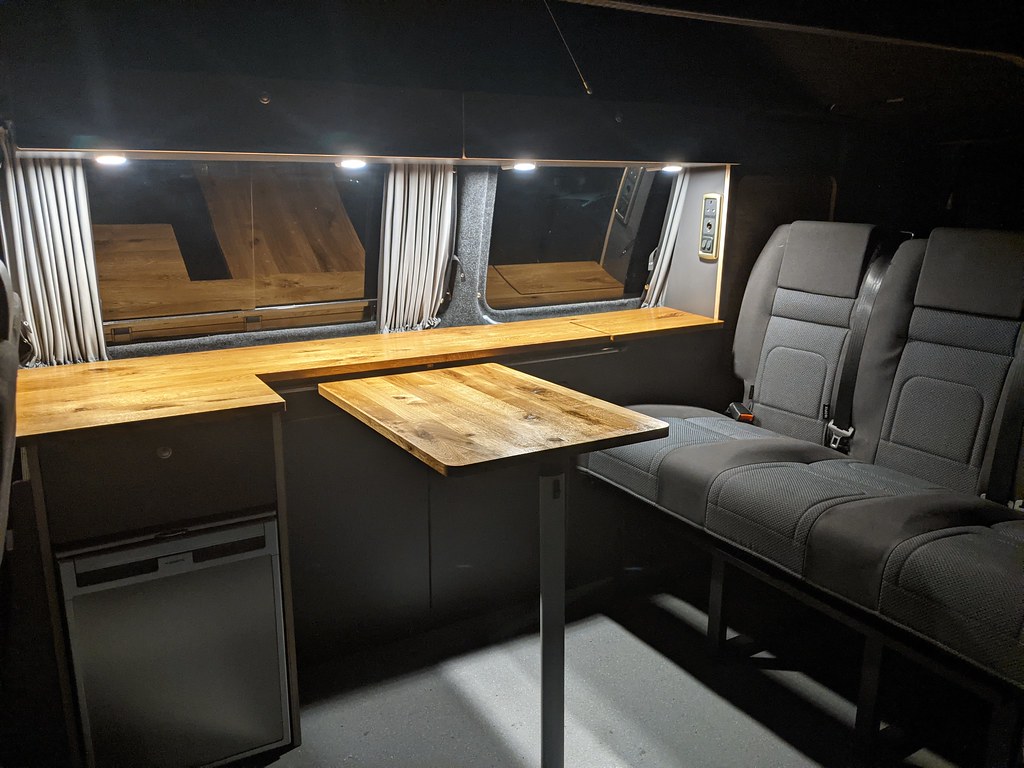
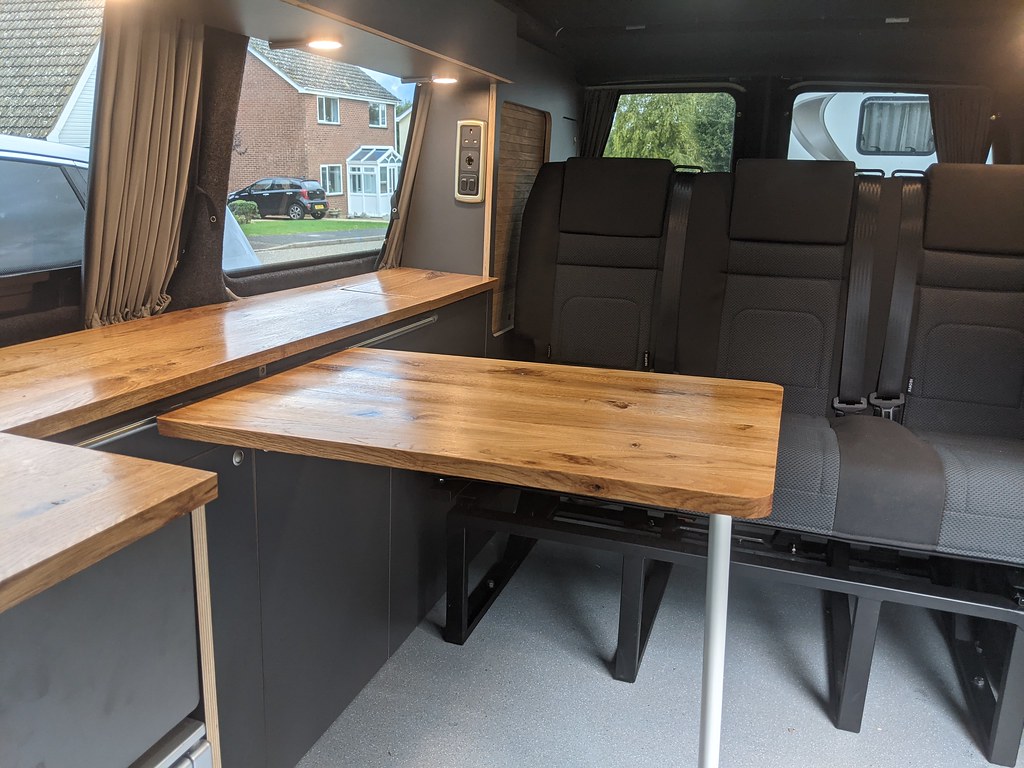
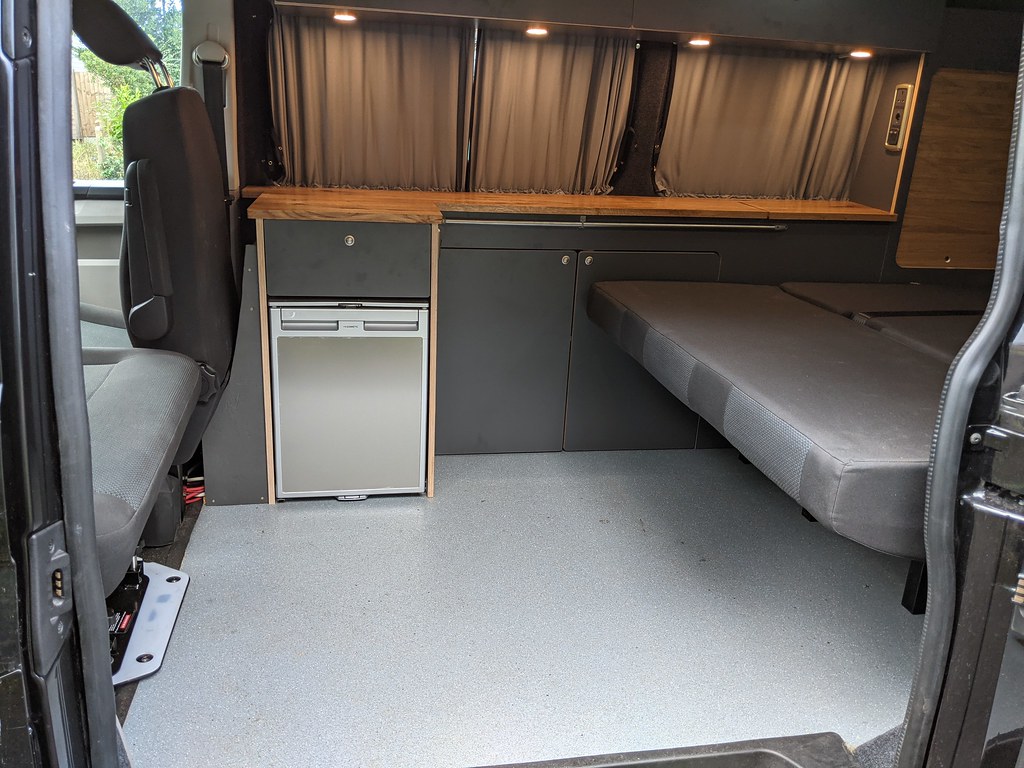
The 8-week lead time for the furniture seemed a very long time, but it arrived pretty well according to schedule. The build of the flat-pack kit took an afternoon on my living-room floor, and all went very well. It meant that we now had to get it into place and see how the bed, fridge and hob would all fit in. Now we see why it was not a good idea to bolt the rear seat in place earlier – it had to be moved out of the way to allow the rear unit to be put in place. In fact it moved back and forth a few times as I mocked up the fitment. With the rear unit in place I could test fit the other units and the worktop, finally giving us the vision of how it would all fit together. With a few thumps to get things into place we could see that the kit manufacturers had done a good job and it was all going to work out OK.
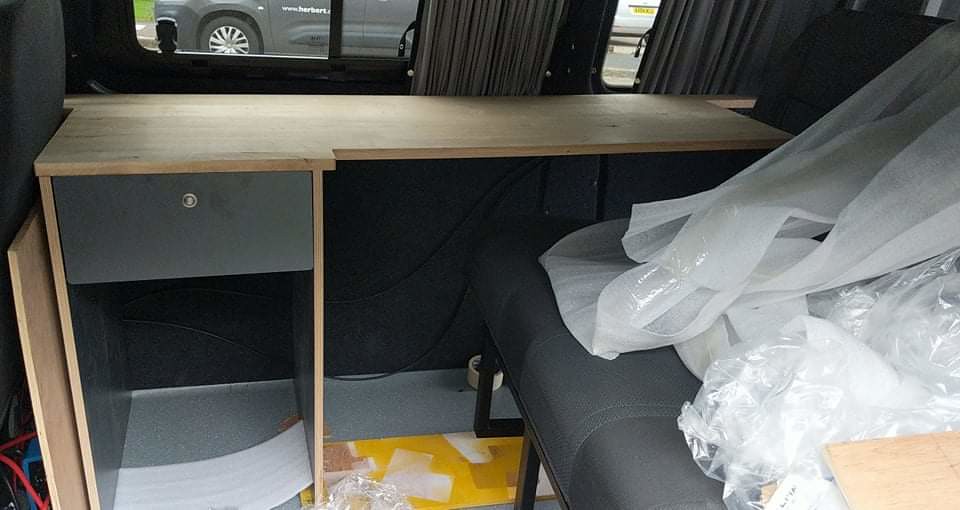
Now it was a case of pulling all the parts together in their final configuration and I could move on to the last major piece of engineering – bolting in the rear seat/bed.
Bolting in the bed
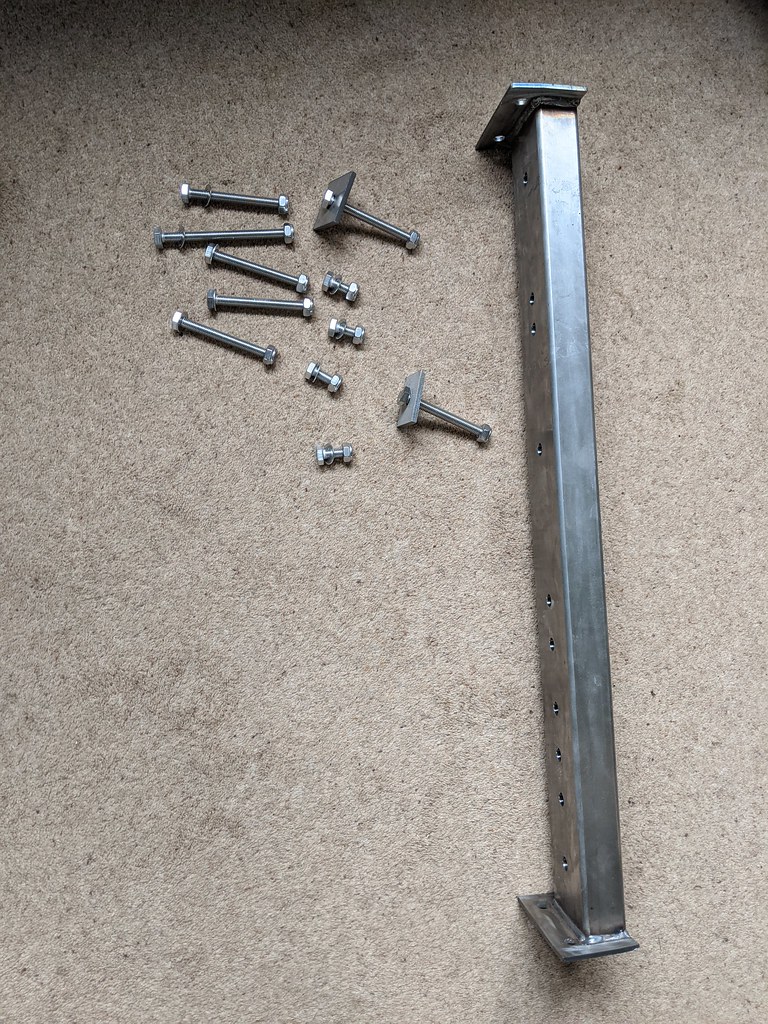
I spent a long time reading and thinking about this. The rear seat/bed unit is a very sturdy crash-tested piece of kit that has to be properly attached to the structure of the van. While waiting for the furniture I had done a few trips underneath the van to explore how we would do this job. A large stainless steel box section reinforcing bar goes below the floor of the van under the rear of the seat frame, to take the major seat-belt loads. This is attached to the seat with bolts through the floor, and also to the van chassis rails.
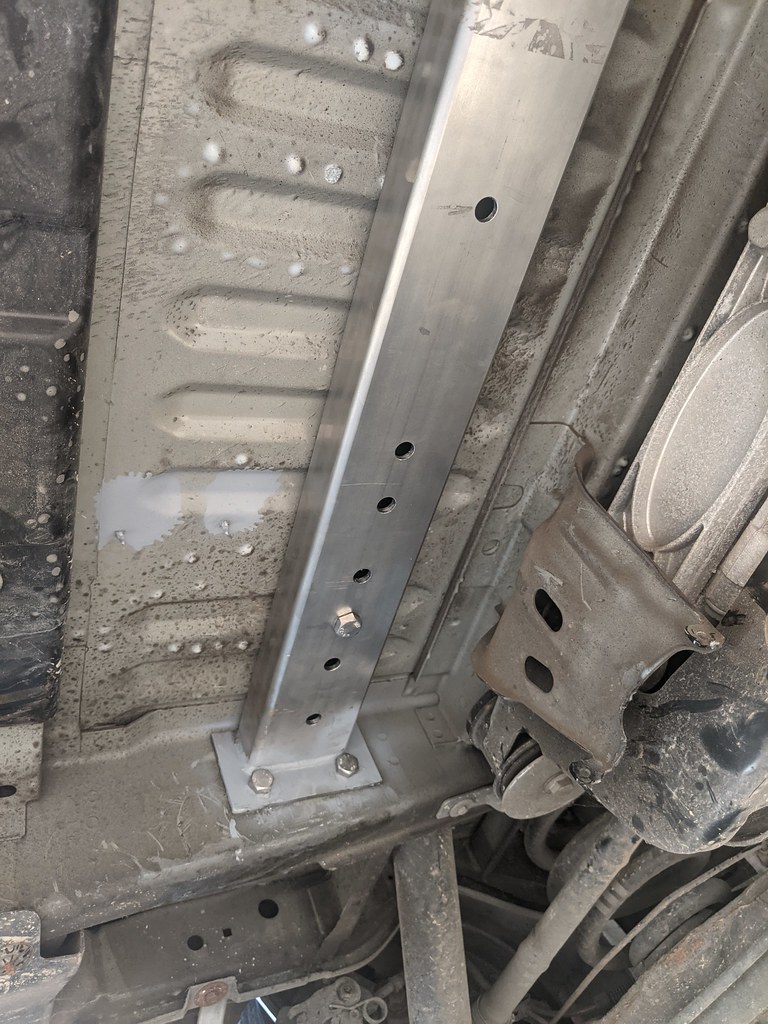
I had been rehearsing in my mind whether to drill up from the bottom or down from the top – either route gave a lot of scope for missing the target. In the end I simply lined up the bed in the right place in relation to the furniture and the the inside structure of the van, very carefully marked the hole positions, checked 100 times that I wasn’t going to drill anywhere bad in the underside – and then drilled a small pilot hole down through the floor. Frightening! That hole gave me a firm reference point to relate inside and outside locations – and I had the luck that while I hadn’t made any efforts for it to happen, it lined up with one of the pre-drilled holes in the reinforcing bar. That luck was key to making the rest of the job much easier. I was able to bolt through the seat frame and the floor and hold the bar securely in place for all the remaining holes to be drilled.
The front of the bed also needed to be fixed down, but that was structurally less critical than the rear mounting. The van is the 4×4 variant, so there’s a lot going on under the floor, but I was able to find locations each side that were accessible from the bottom, so I could drill through the seat frame and the floor for the large bolts.
Fixing the furniture
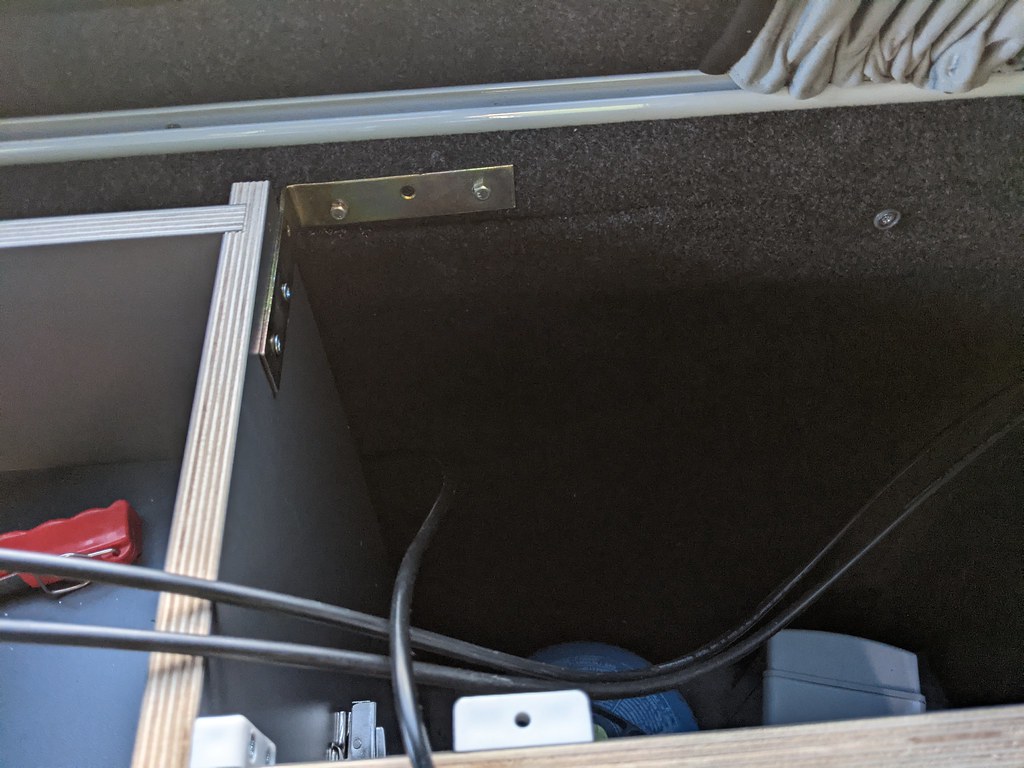
The furniture not only has to be assembled, but it has to somehow be attached to the van structure. YouTube is strangely quiet on this topic. The professional companies which have so many “how-to” videos say nothing, and even the amateur builders don’t have a lot of hints.
The answer is rivnuts. I’ve never used them before, but they offer a secure way of bolting to the van structure. I bolted L brackets from B&Q to the van frame and screwed them strategically to the furniture bulkheads. I also screwed the base of the furniture units to the floor at various locations. This all worked out well, and the furniture seems well attached.
Fridge and cooker
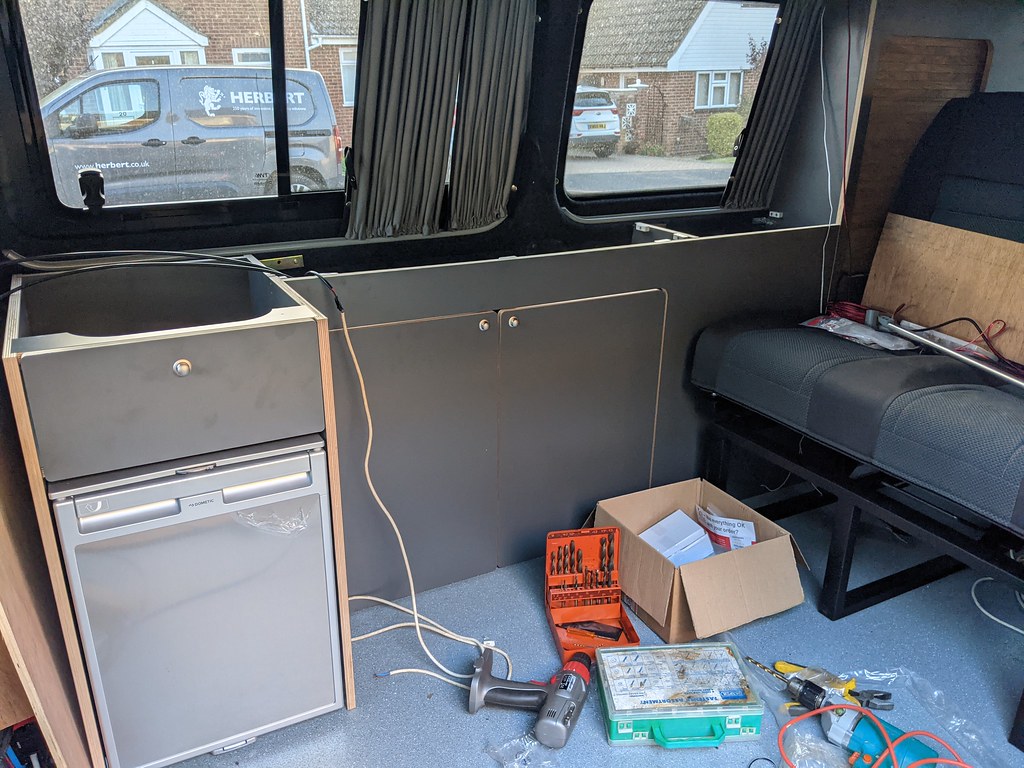
The fridge, once chosen as a fit for the furniture, proved relatively undemanding. The door opening was swapped to the other side, and it was tested overnight with the electrics in their prototype form to ensure that we got enough charge during the day to keep it running overnight. Otherwise it just had to be screwed into its hole and connected electrically.
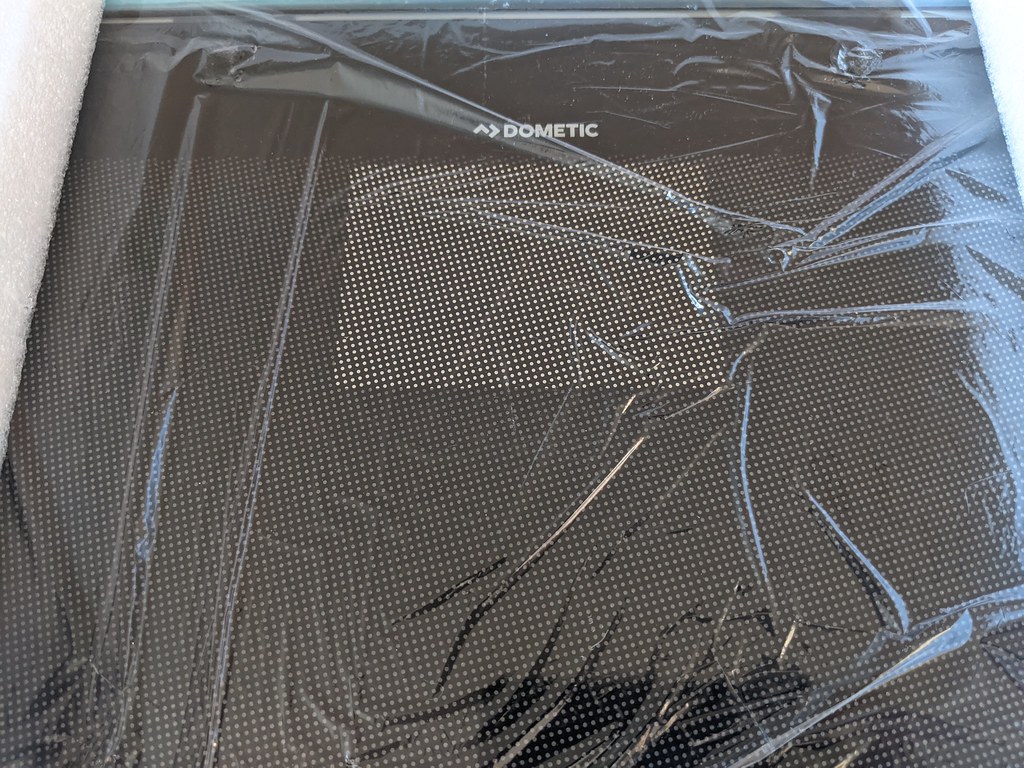
The hob was more problematic. I had bought it after the furniture was finalised, and it had sat in its box waiting for the furniture delivery. We had (fortunately) decided not to get the worktop cut out for the hob at the suppliers, but to wait until we could test everything in situ. I had been thinking about where to locate the gas cylinder for the hob. Strictly speaking this should be in a gas-tight container with a drop-out through the floor. The only location with enough space for this was behind the rear seat, which meant a very long gas pipe run to the hob. Once the furniture was in place I discovered that a Campingaz 907 cylinder fitted comfortably at the front of the cupboard beside the fridge, right by the hob location. I decided that since the hob was only item fed by gas, it made pragmatic sense to strap the cylinder in that location, with a gas drop-out, despite it not being gas-tight. The cylinder need only be turned on when cooking so realistically there was no safety problem, and in fact a shorter and simpler gas pipe run was probably less likely to have problems.
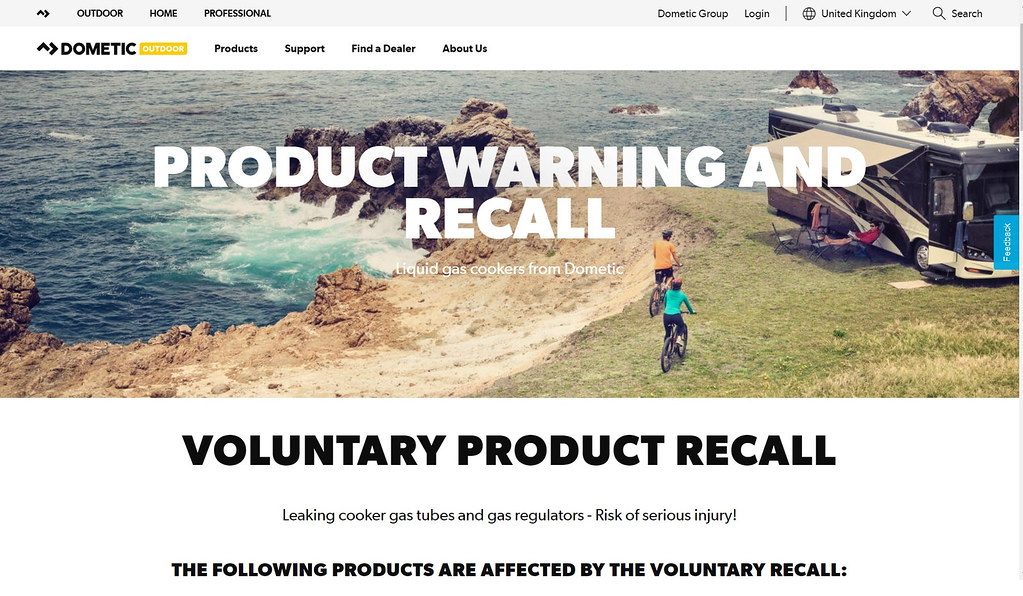
Then we discovered that Dometic had a safety recall on hobs, and ours was one of those to be recalled. Dometic couldn’t give any date on when a replacement hob might become available, so we decided that the best solution was, for the time being, not to commit to any cooking solution. A portable camping stove could be used off-grid, and perhaps a small induction hob when on hook-up.
Electrical final fix
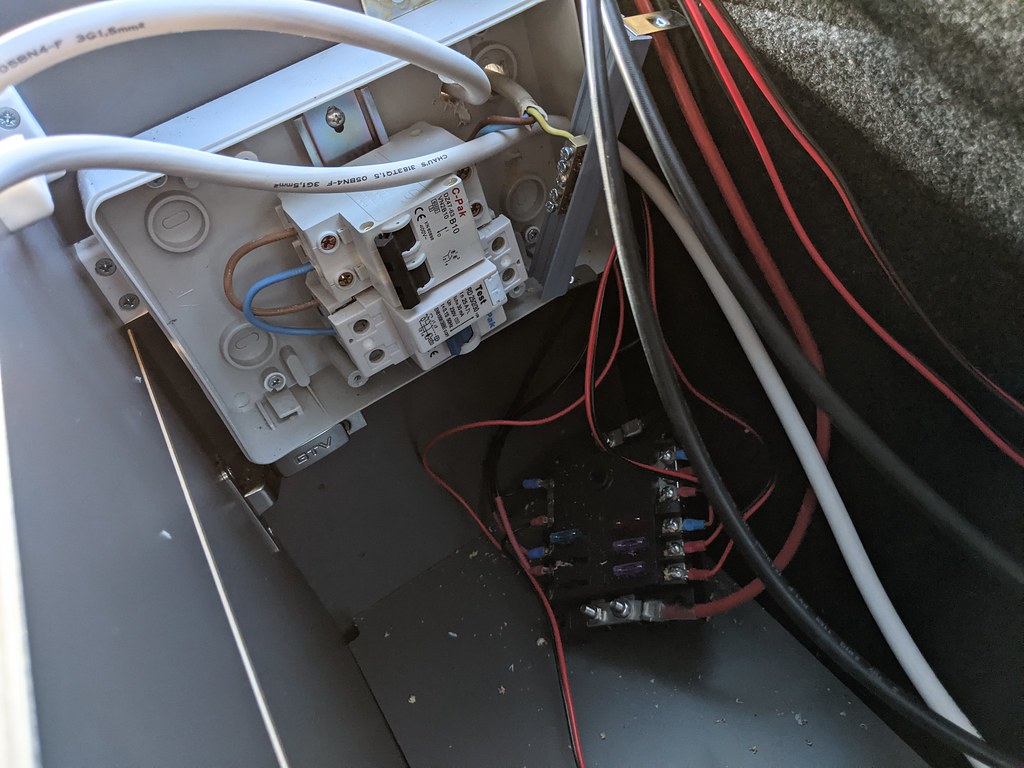
All the electrical components had been tested in prototype configuration (in fact I was using the inverter as a power source for my tools during most of the conversion), but I now needed to connect all the bits properly, using a fusebox for the 12v parts and a consumer unit for the 230v distribution from the inverter/charger (which also feeds the hook-up power). It looked a bit messy while it was happening but it all fitted in and worked – and should be as safe as can be.
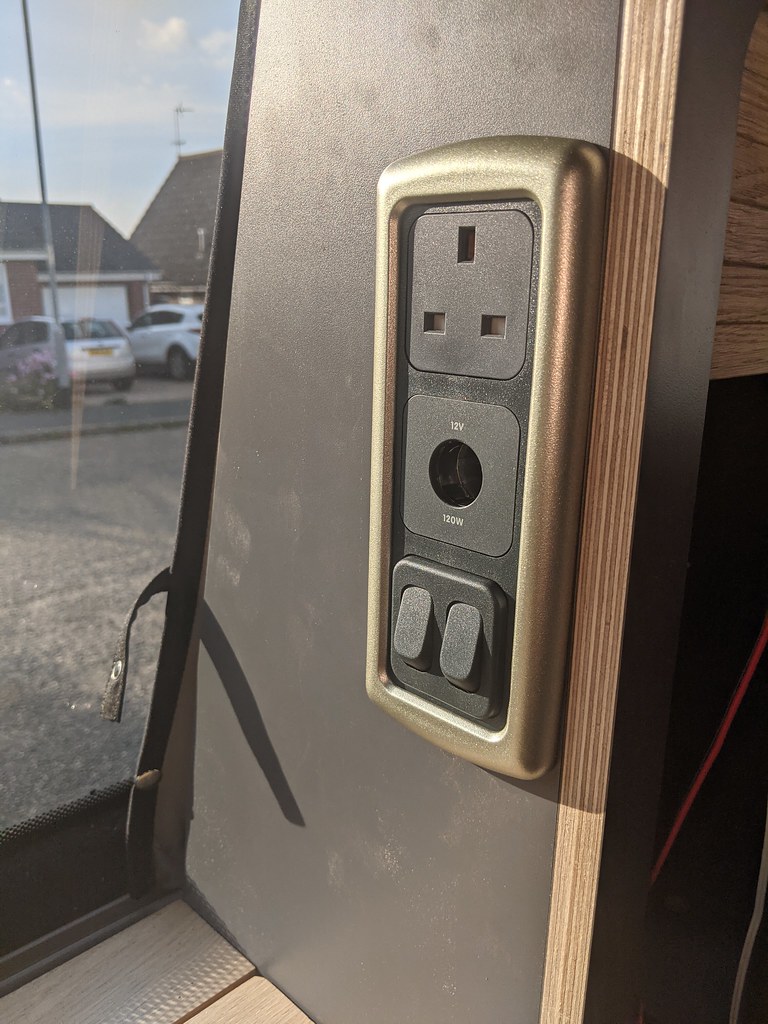
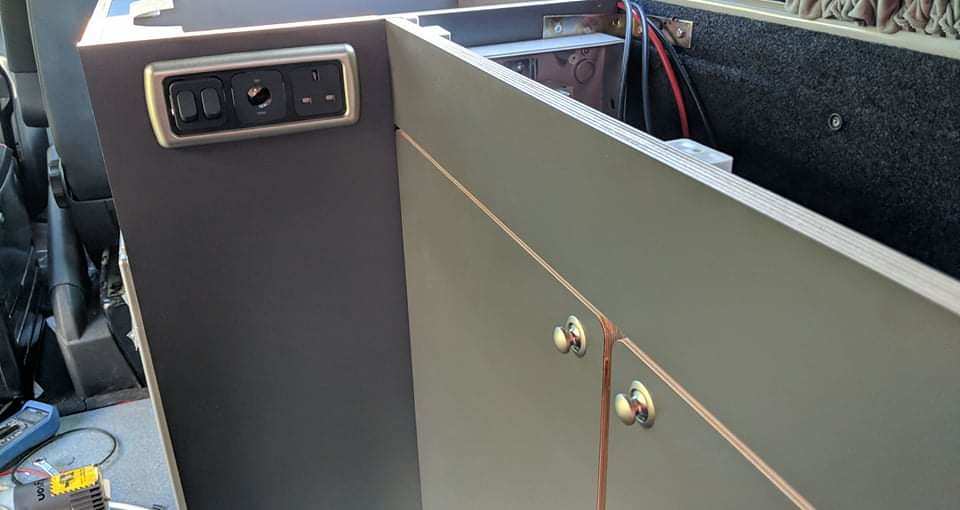
I’ve fitted two three-way switch and socket combinations, each of them with a double switch, a 13A socket and a 12v outlet (which can be used to supply USB chargers with a suitable plug-in insert). There was surprisingly little choice on where to put these so that they wouldn’t interfere with door opening or otherwise get in the way – a lot of careful thought went into their positioning before making a commitment to cutting holes in cabinets. There are three switches for the internal lights, and the remaining switch is used as remote control for the inverter.
The final piece of tidying up for the electrics was to hide the wiring as neatly as possible in trunking – partly for aesthetics and partly for robustness and safety.
Worktop and table

Danish oil – that’s a trendy thing, and the natural wood finish of the table and worktop demanded trendy. The end result looks good. The table is rail mounted on the furniture, and while I was initially concerned over getting the rail height correct to make the table horizontal, it turned out that the limiting factor was for there to be sufficient clearance to get the hooks on to the rail with the overhanging worktop constraining the space above. The good news is that it all works out just fine – so there it was.
Nothing left to do but one last drive which reminded me what a great van it was to drive, and told me that there were no major rattles from the conversion.
Job done! Now what? Well, here’s a clue – https://flic.kr/s/aHBqjAk4NZ
If you’d like to read the story of the birth of this van’s big brother, take a look at https://www.cliffdive.co.uk/van-blanc%e2%80%95the-foreplay/