

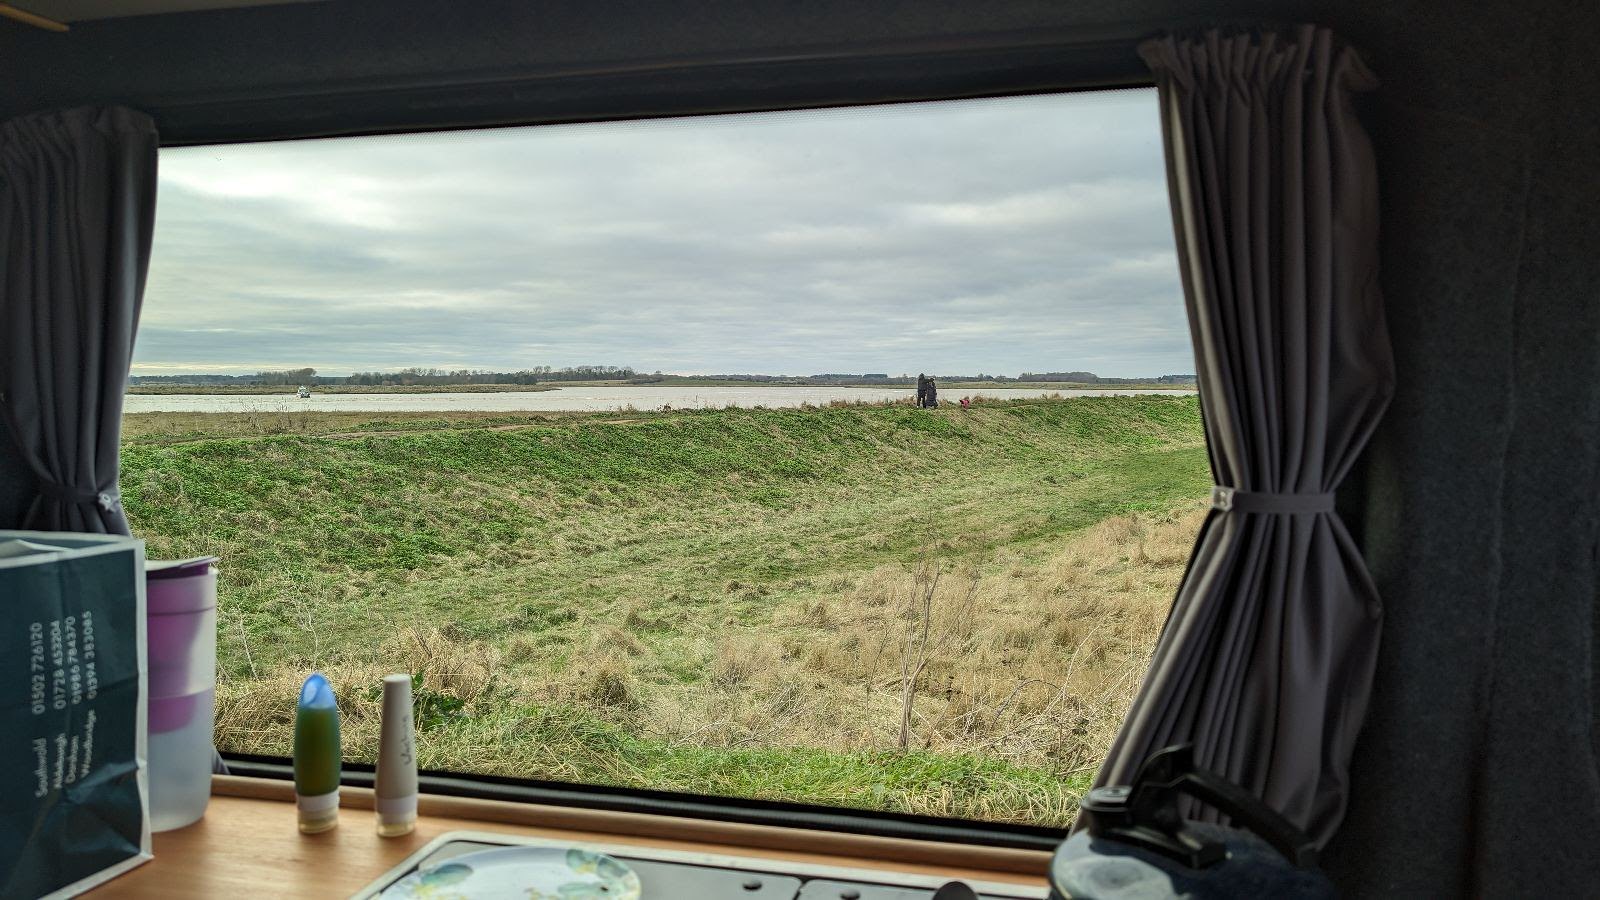
This is the fourth part of my story of converting a LWB VW Crafter into a 5-berth camper-van. The earlier episodes covered stripping the van (https://www.cliffdive.co.uk/van-blanc%e2%80%95the-foreplay/), choosing a layout for the conversion (https://www.cliffdive.co.uk/if-you-fail-to-plan/), and putting in the glazing (https://www.cliffdive.co.uk/lets-get-going/)
Van Blanc and his little brother Black Beauty are both available for hire:
https://www.goboony.co.uk/campers/united-kingdom/england/great-whelnetham/63570
https://www.goboony.co.uk/campers/united-kingdom/england/great-whelnetham/63333
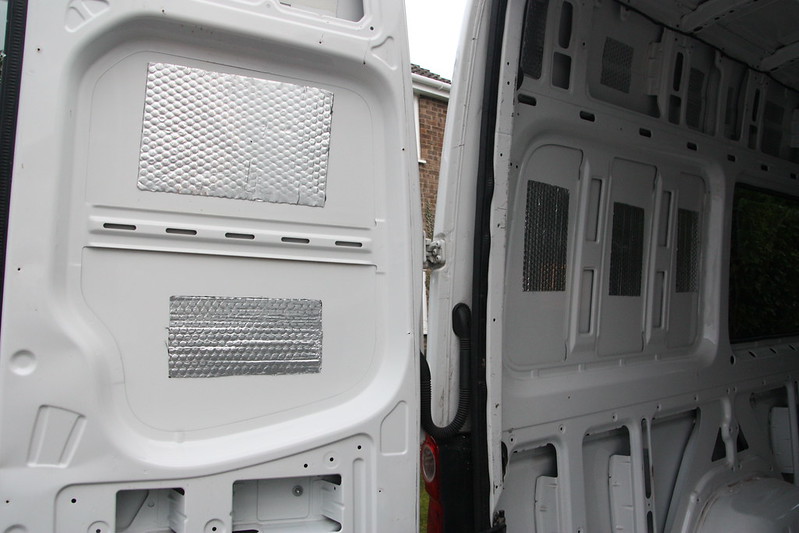
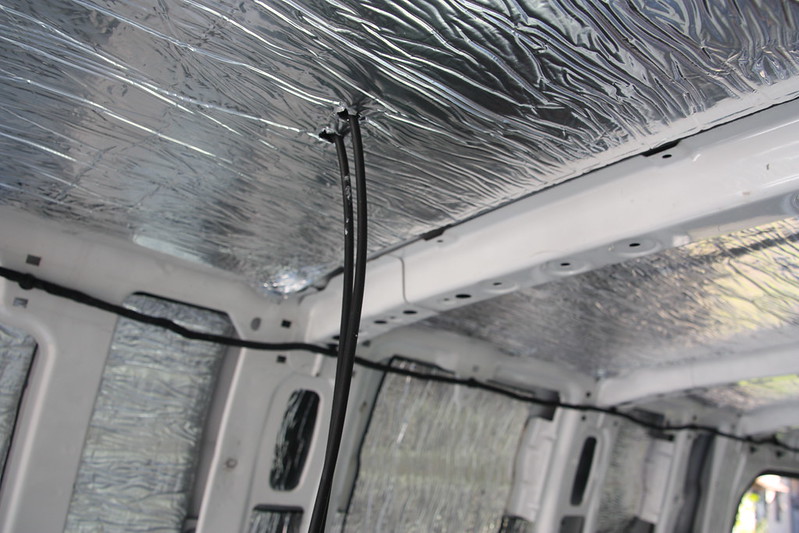
At this stage we have a bare van with some glazed holes in it. Time now to do something with the walls and ceiling. People have different approaches to this. Some put battens on the walls and ceiling and make an effort to square up the interior space, usually filling the cavity with some sort of insulation. I was very conscious of minimising weight, so there will be no framing ― the wall and ceiling panels will be bolted directly to the steel frame of the van. But the outer surfaces will be lined with a self-adhesive acoustic lining followed by a self-adhesive thermal lining, and then the cavity will be filled with fluffy recycled plastic insulation. The upper picture above shows the acoustic lining, which doesn’t need to cover the entire area of the steel panel. The lower picture shows the thermal lining added to the walls and roof.
Vapour barrier
Many van-build YouTubes feature people earnestly fitting a membrane between the living area and the outside walls of the van, behind the internal panelling. The theory is a good one ― when we live and cook in our vans we create a lot of water vapour, and if that gets to the cold metal outside walls it will condense and make bad things happen. All of that is true, but having owned a variety of vans over the years I don’t believe that it’s possible to create a vapour-proof seal however hard we try. There are too many holes on the basic van body and holes in the conversion that we can’t effectively seal. In addition to condensation it’s also pretty certain that water will get into our van body somewhere. The side trims of the Crafter van are notorious for letting water in via their mounting clips. If we have a membrane in place then I think it’s more likely to cause problems by locking water in than to solve them by keeping it out. I have built the van on the basis of insulating where I reasonably can, accepting that some condensation will probably happen and allowing ventilation routes to remain. In use since finishing the build, condensation doesn’t appear to have been an issue.
The floor
With the walls and ceiling coming along we have to consider the floor. This will be battened and use 25mm Celotex insulation foam between the battens. The battens are 25mm thick treated wood since it might get a little damp down there. The positioning of the battens is chosen to provide good support to areas where the floor will be loaded, and to allow for the fitting of various pieces of equipment such as the shower tray and the forward-facing seat frame, and take account of where the floor panels will meet up. Once I was happy with the layout the battens were fixed in place with mastic adhesive. My philosophy throughout the build was to minimise holes through the outer skin of the van.
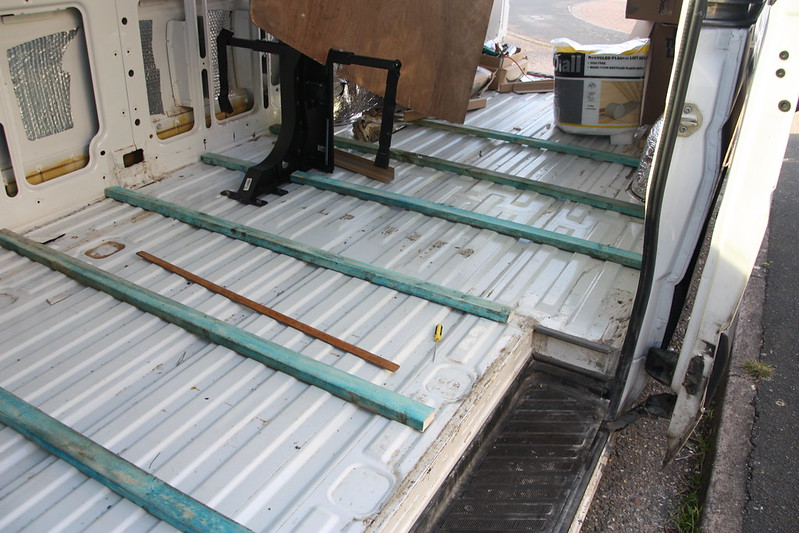
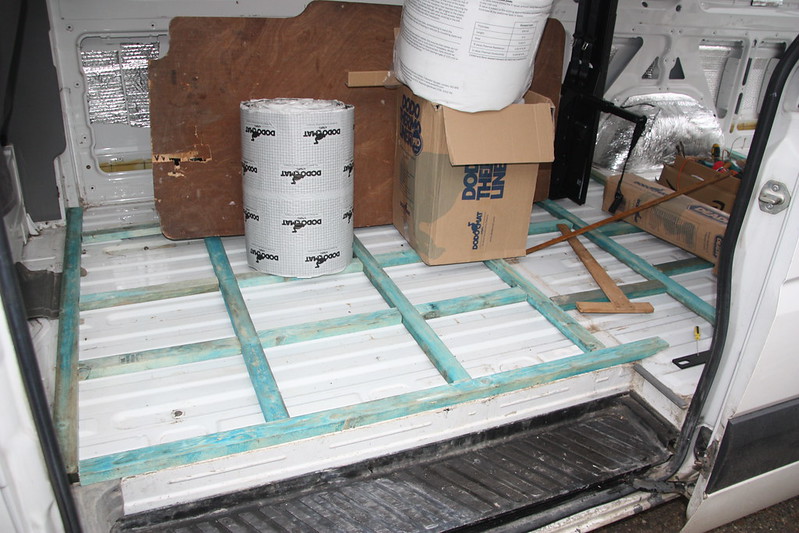
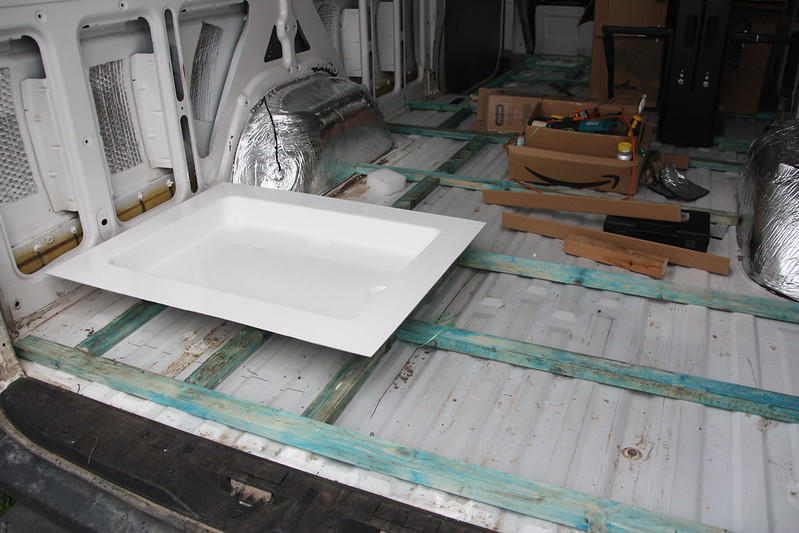
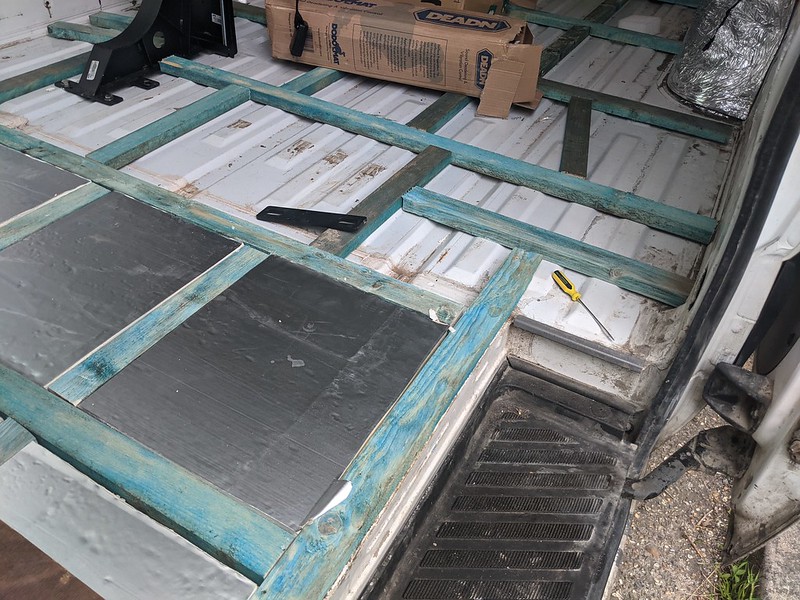

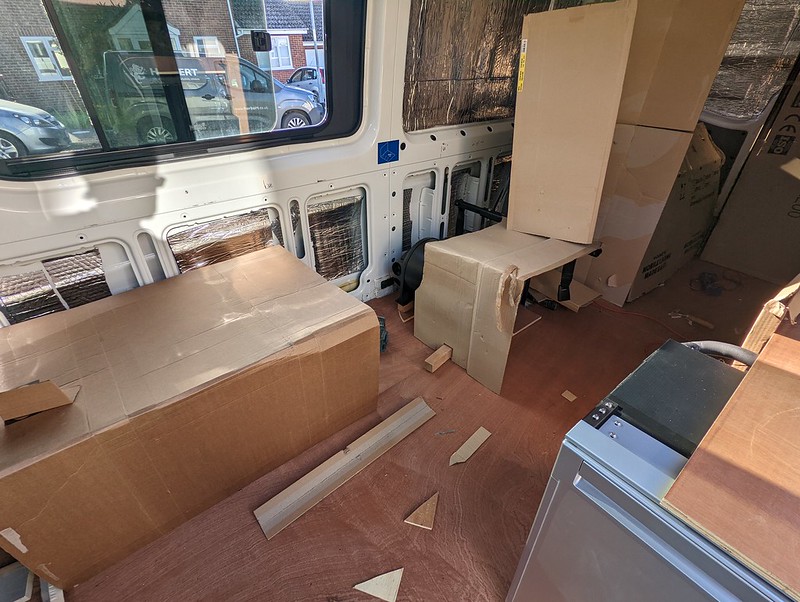
With the longitudinal and transverse battens in place the relatively thin 12mm ply floor could be cut and laid. Weight considerations meant that I wanted the floor to be as thin as possible. The batten and foam base would provide plenty of strength to support the thin ply top layer. I avoided fixing the floor at this time because there was still plenty of real-time thinking to take place. The last picture above shows some of that thinking ― I created some simple cardboard templates of the intended furniture layout so that I could move around and get a feel for the final design.
Do you want to try this vehicle?
This van is now available to hire. Take a look at https://www.goboony.co.uk/campers/united-kingdom/england/great-whelnetham/63570
For the next episode take a look at https://www.cliffdive.co.uk/let-there-be-power