This is the fifth part of my story of converting a LWB VW Crafter into a 5-berth camper-van, looking at the planning and installation of the electrical system. Earlier episodes have covered:
- stripping the van (https://www.cliffdive.co.uk/van-blanc%e2%80%95the-foreplay/)
- choosing a layout for the conversion (https://www.cliffdive.co.uk/if-you-fail-to-plan/)
- putting in the glazing (https://www.cliffdive.co.uk/lets-get-going/)
- lining and insulation of the van body (https://www.cliffdive.co.uk/every-van-has-a-silver-lining/)
Van Blanc and his little brother Black Beauty are both available for hire:
https://www.goboony.co.uk/campers/united-kingdom/england/great-whelnetham/63570
https://www.goboony.co.uk/campers/united-kingdom/england/great-whelnetham/63333
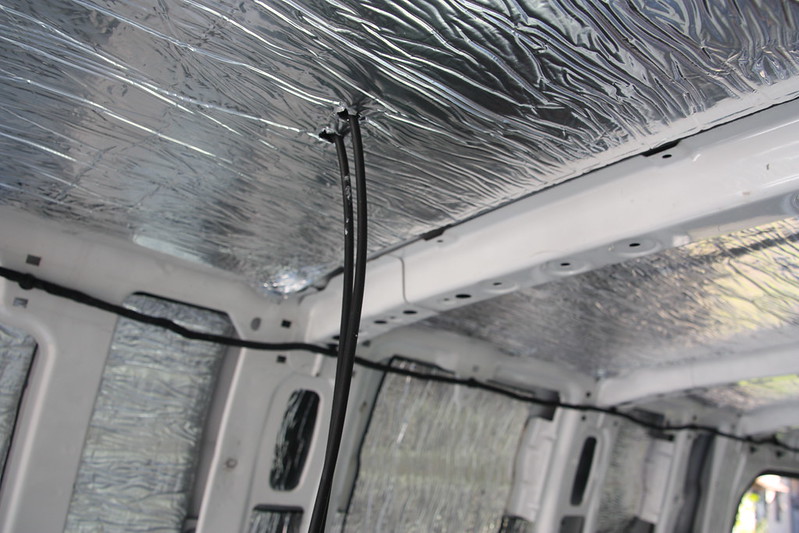
The previous post in this series had a bit of a teaser for this chapter of the story ― one of the pictures of the lined roof showed a couple of cables dangling through a hole. These cables were connected to the solar panel mounted on the roof.
But first let’s go back a stage, and consider the planning for the design and components of the electrical system for Van Blanc. My experience of building VW Transporter Black Beauty had shown that it was possible to build a flexible and capable electrical system superior to those installed in most commercially available campervans by creating a simple system where the leisure battery is connected to 3 systems that in effect run independently. They all connect to the leisure battery and determine their actions from what they see of its voltage. They require no other coordination. These core systems are:
- Solar charging ― we have the solar panel and its associated controller. Its job is simply to offer the battery as much energy as it needs. The current received from the solar charging system depends on the amount of solar energy the panel is receiving and the state of charge of the battery. If the battery is fully charged, and there are no current demands on the system, the solar panel will provide very little energy even in bright sunlight
- Mains charging and 230V outlets ― we use an inverter/charger which performs a number of tasks depending on context. The mains hook-up point (shore power if you’re American) connects to this. When the hook-up is powered up the unit supplies power to the mains outlets in the van, charges the leisure battery and also supplies a trickle charge to the vehicle battery. This is its charger mode. If no external power is connected, then the unit can operate in inverter mode, and supply mains voltage to the mains outlets by converting the battery’s 12V DC supply to 230V AC
- Battery to battery charger ― this operates when the engine is running, and charges the leisure battery from the vehicle alternator
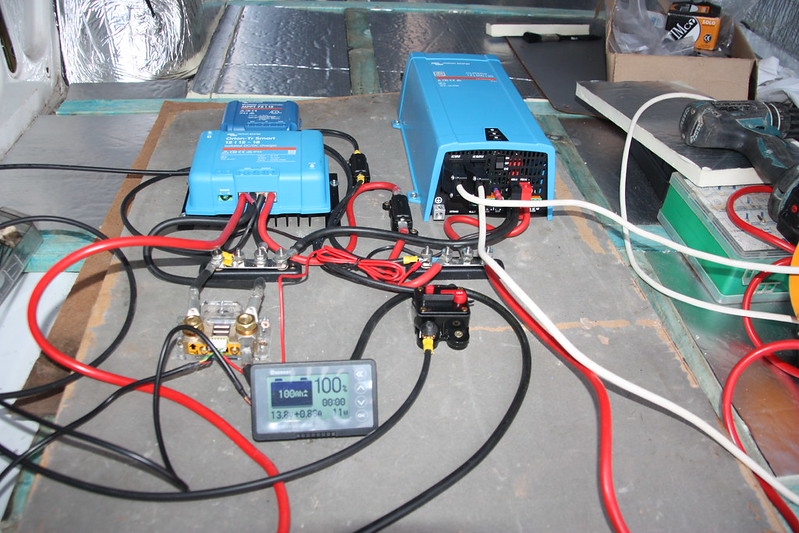
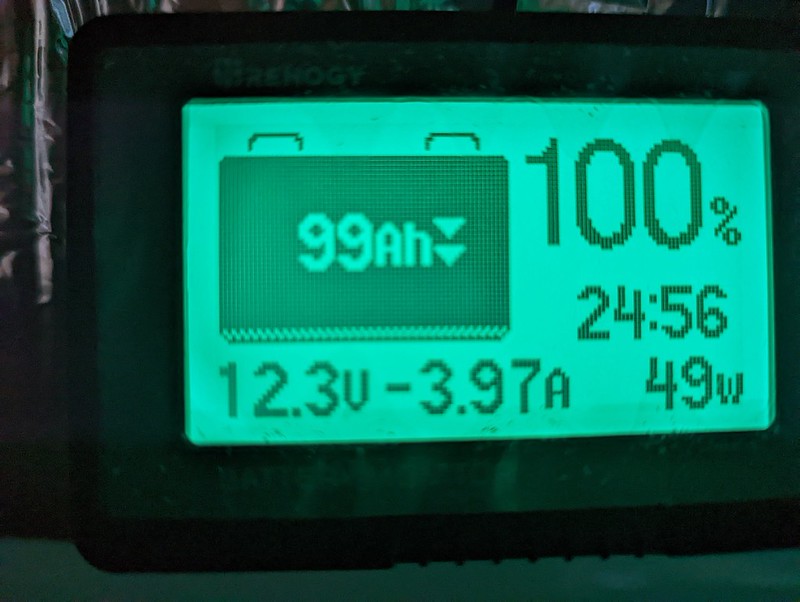
Those three boxes form the essential elements of the electrical system. With this conversion I decided to select all three components from the Victron range. Since they don’t directly communicate in any way there’s no real problem mixing and matching the components, but Victron arguably have the best selection of kit for this sort of application, so there’s little point making life difficult ― and all the boxes are then matching in colour! I also decided that this style of conversion needed some form of battery monitoring display, and selected a device from Renogy.
I decided to keep things simple when choosing the battery, and went for a lead-acid leisure battery, In the time that’s elapsed since the build lithium batteries have become cheaper, and if I were choosing now I’d probably opt for lithium. But as it turns out battery capacity has never been an issue.
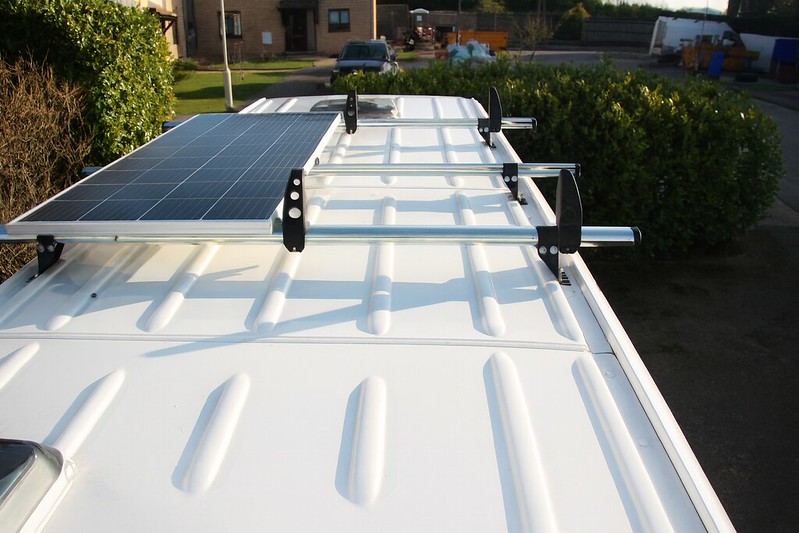
I agonised over how to attach the solar panel. There are many clever examples of YouTube, but I decided to keep it simple, unpretentious and flexible, so I got a proper white-van-man roof-rack and attached it to that
You can see how the final installation was developed from the prototype with added components such as the fuse box and mains isolator
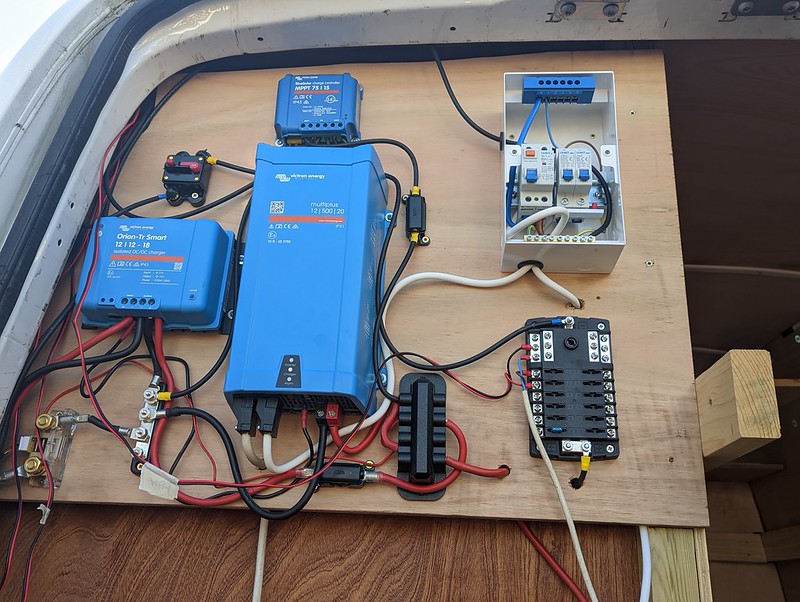
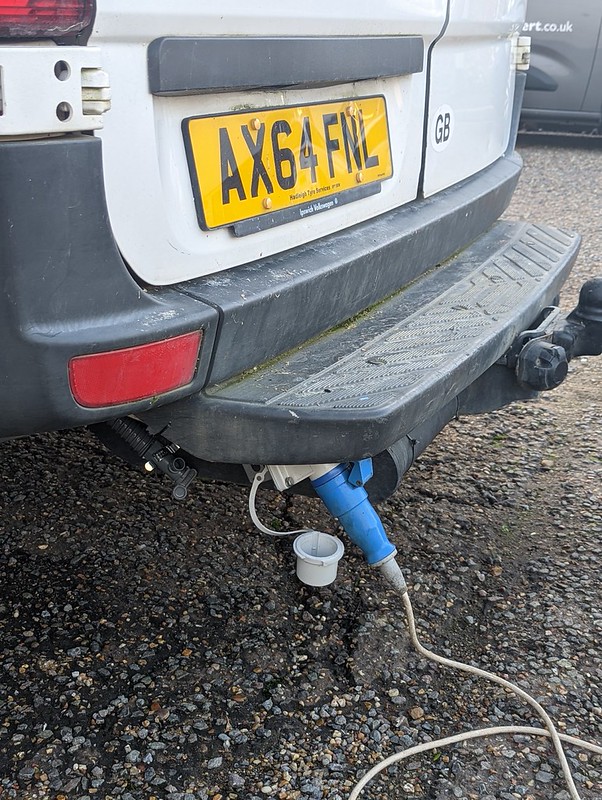
I didn’t want to put any more holes in the visible bodywork than I had to, so the mains hook-up point was located under the rear step, which gives a very convenient cable run to the inverter, which is located on a panel just inside that rear door.
Van Blanc and his little brother Black Beauty are both available for hire:
https://www.goboony.co.uk/campers/united-kingdom/england/great-whelnetham/63570
https://www.goboony.co.uk/campers/united-kingdom/england/great-whelnetham/63333